

When thinking about the fabric you want to design, there are a few things you’ll need to consider:
1) What will you be using the fabric for?
Clothing? Upholstery? Pillows? Wall decor? Your answer here will really make a huge difference on what type of fabric you’ll need to start out with. For example, you’re going to need a much heavier weight fabric for upholstery than you will for a flowy scarf or skirt, and the type of fabric you need will effect the type of fabric design options you’ll be able to use.
If you decide you want to natural dye a flowy scarf, you’ll have to make sure you choose a fabric that is not synthetic (many flowy fabrics are synthetic!) because the natural dye will not adhere to synthetic fabrics.
The next question to ask yourself is:
2) Do you just want to dye the fabric? Or do you just want to print on the fabric with your own designs or patterns?
If you only want to color or dye the fabric, you have a few options:
1. NATURAL DYEING
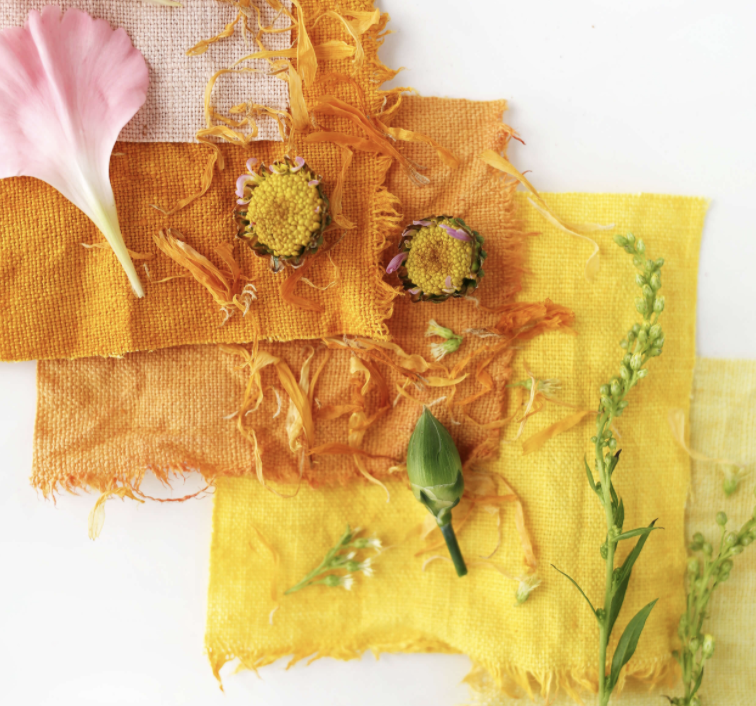
You can use fruits, vegetables, flowers, and other natural elements to create gorgeous, natural colors for dyeing. And the bonus? Everything is eco-friendly.
This method can be somewhat unpredictable as far as getting an accurate color, and for some colors you might need to collect quite a few veggie scraps to get the shade you want, but it’s a fun process.
You can definitely natural dye from home, but you’ll need to use natural fabrics and you’ll also need to purchase a mordant or something to fix the color permanently into the fabric (don’t forget the rubber gloves!).
2. STORE BOUGHT DYE
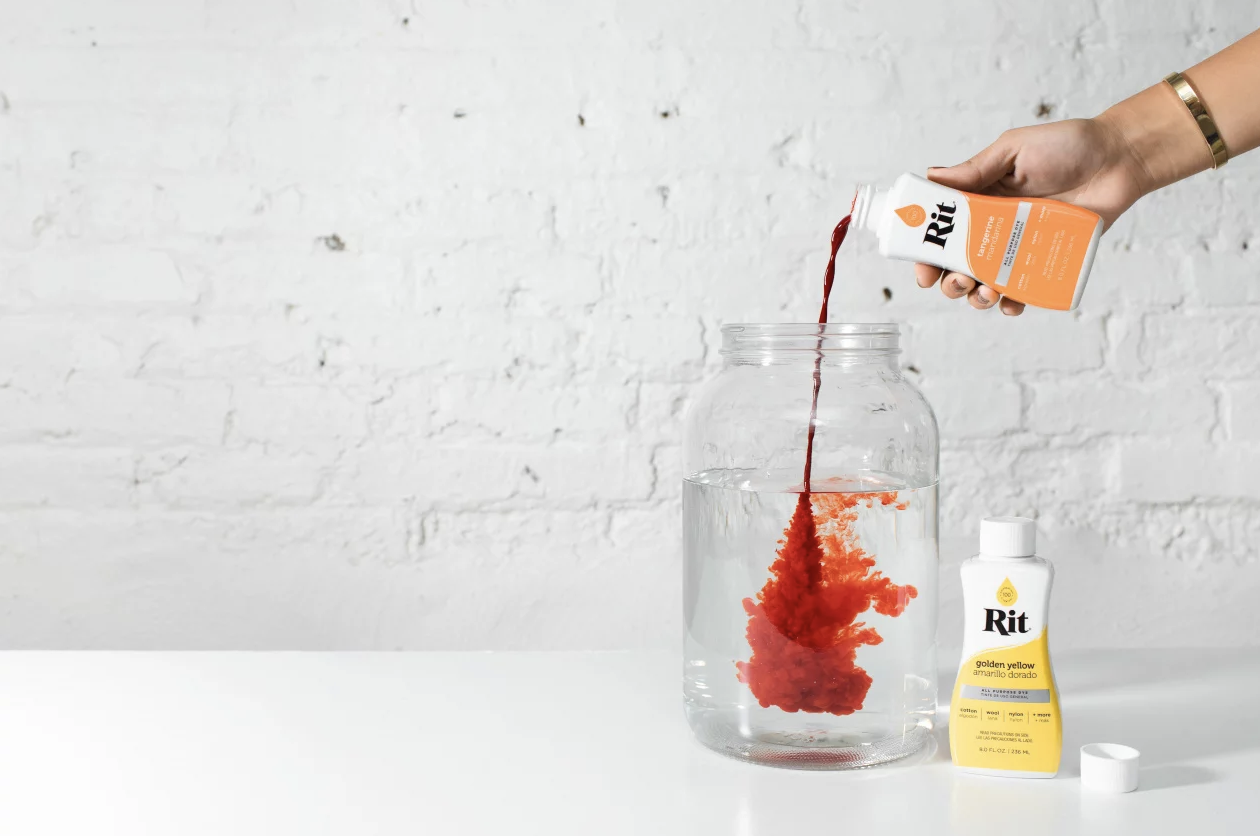
With this method, you can use the color straight from the bottle or mix a few together to create your own custom dye color. They also carry fixative and everything you need to clean your fabric before you dye it.
A newer product they’ve introduced is a liquid dye, but for synthetic fabrics! This is awesome because a lot of dyes (especially natural dyes) can only be used on natural fabrics like cotton, linen, etc.
Normally you can’t use a blended fabric with even a little synthetic in it because the dye won’t soak in.
Rit is just one brand you can try, but they’ve been around since I was tie-dyeing my way through the 80’s and their website has a plethora of information and pretty colors to look at, so I’m biased. (But also the colors always came out bright and amazing!)
Other dyeing options you can try are shibori, tie-dye, reverse tie-dye, and batik, which also dye the fabric, but create various lines and textures as well.
3. TIE DYE

There are a few methods of manipulating the fabric and using rubber bands, and each method creates a different type of tie-dye pattern, so your results will vary depending on how you tied it up.
You’ll need some fabric, rubber bands, and any kind of dye to start making tie-dye magic. Alternatively, if you’re too lazy to get together all the supplies, Kingfisher Prints makes a tie-dye kit with everything you’ll need to get started.
4. BATIK
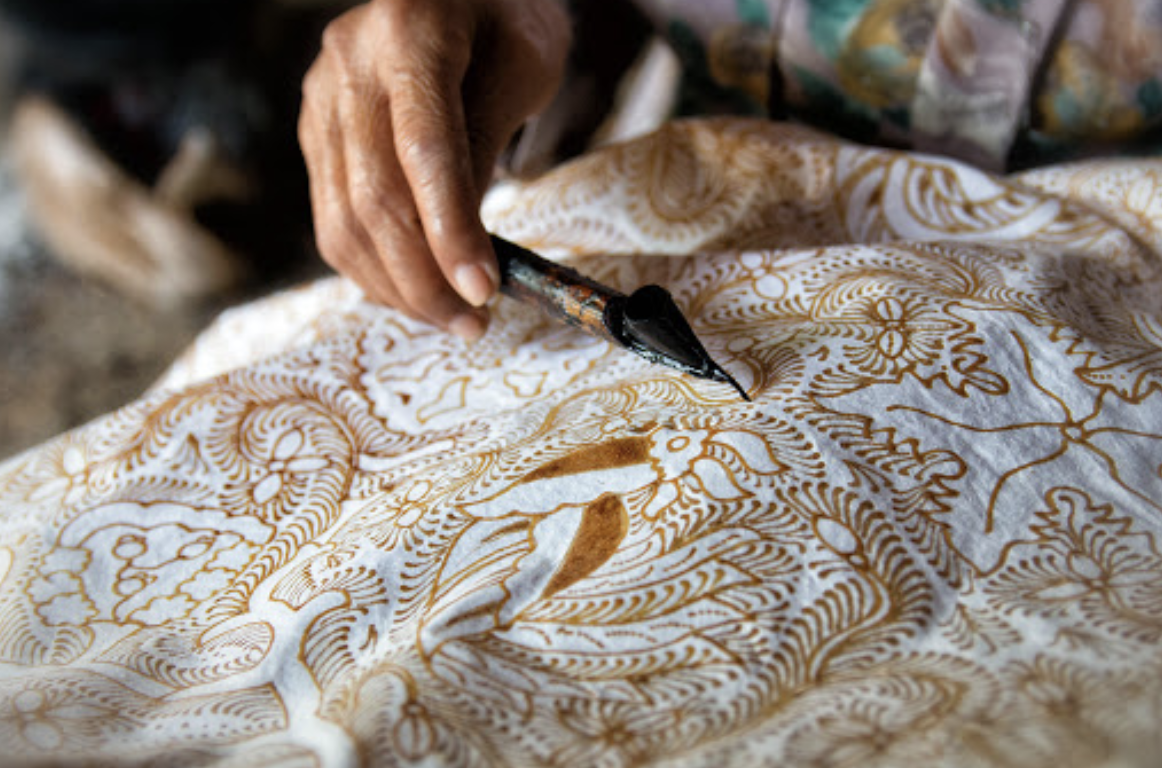
Batik is a resist printing technique that uses wax to create lines throughout the fabric. The wax is applied in lines or dots with a spouted tool called a canting or a funnel pen. Then the fabric is submerged in dye and washed in hot water which melts the wax away, leaving the patterns created by the wax.
The traditional designs are very ornate, but you can also keep it simple or create an abstract design. This is the only fabric process I have yet to try from this list, so I’m not 100% sure how simple this is to do from home, but where there’s a will, there’s a way as they say.
So…those are a handful of ways you can design your own fabrics at home using various dye related techniques.
Now…if you want printed fabric, you also have a few options:
You can go digital, or you can go handmade. First, let’s take a look at digital printing.
1. DIGITAL PRINTING
If you want to tap into your inner graphic design wizard, then your best bet is to design your print yourself in Photoshop or similar, and then send it to an online printing company like Spoonflower to get it digitally printed.These type of companies let you upload your digital design and you can have it printed on a variety of different fabrics, depending on what you’re using it for. You can even order a fabric sample and have it hemmed.
Can’t draw? You can also upload a photo!
With Spoonflower, you’ll first have to upload your digital design correctly and make sure it fits their requirements. Then you’ll select the type of fabric you want it printed on, (prices vary) and soon your fabric will ship straight to your home.


.png)
.png)